crkbd life
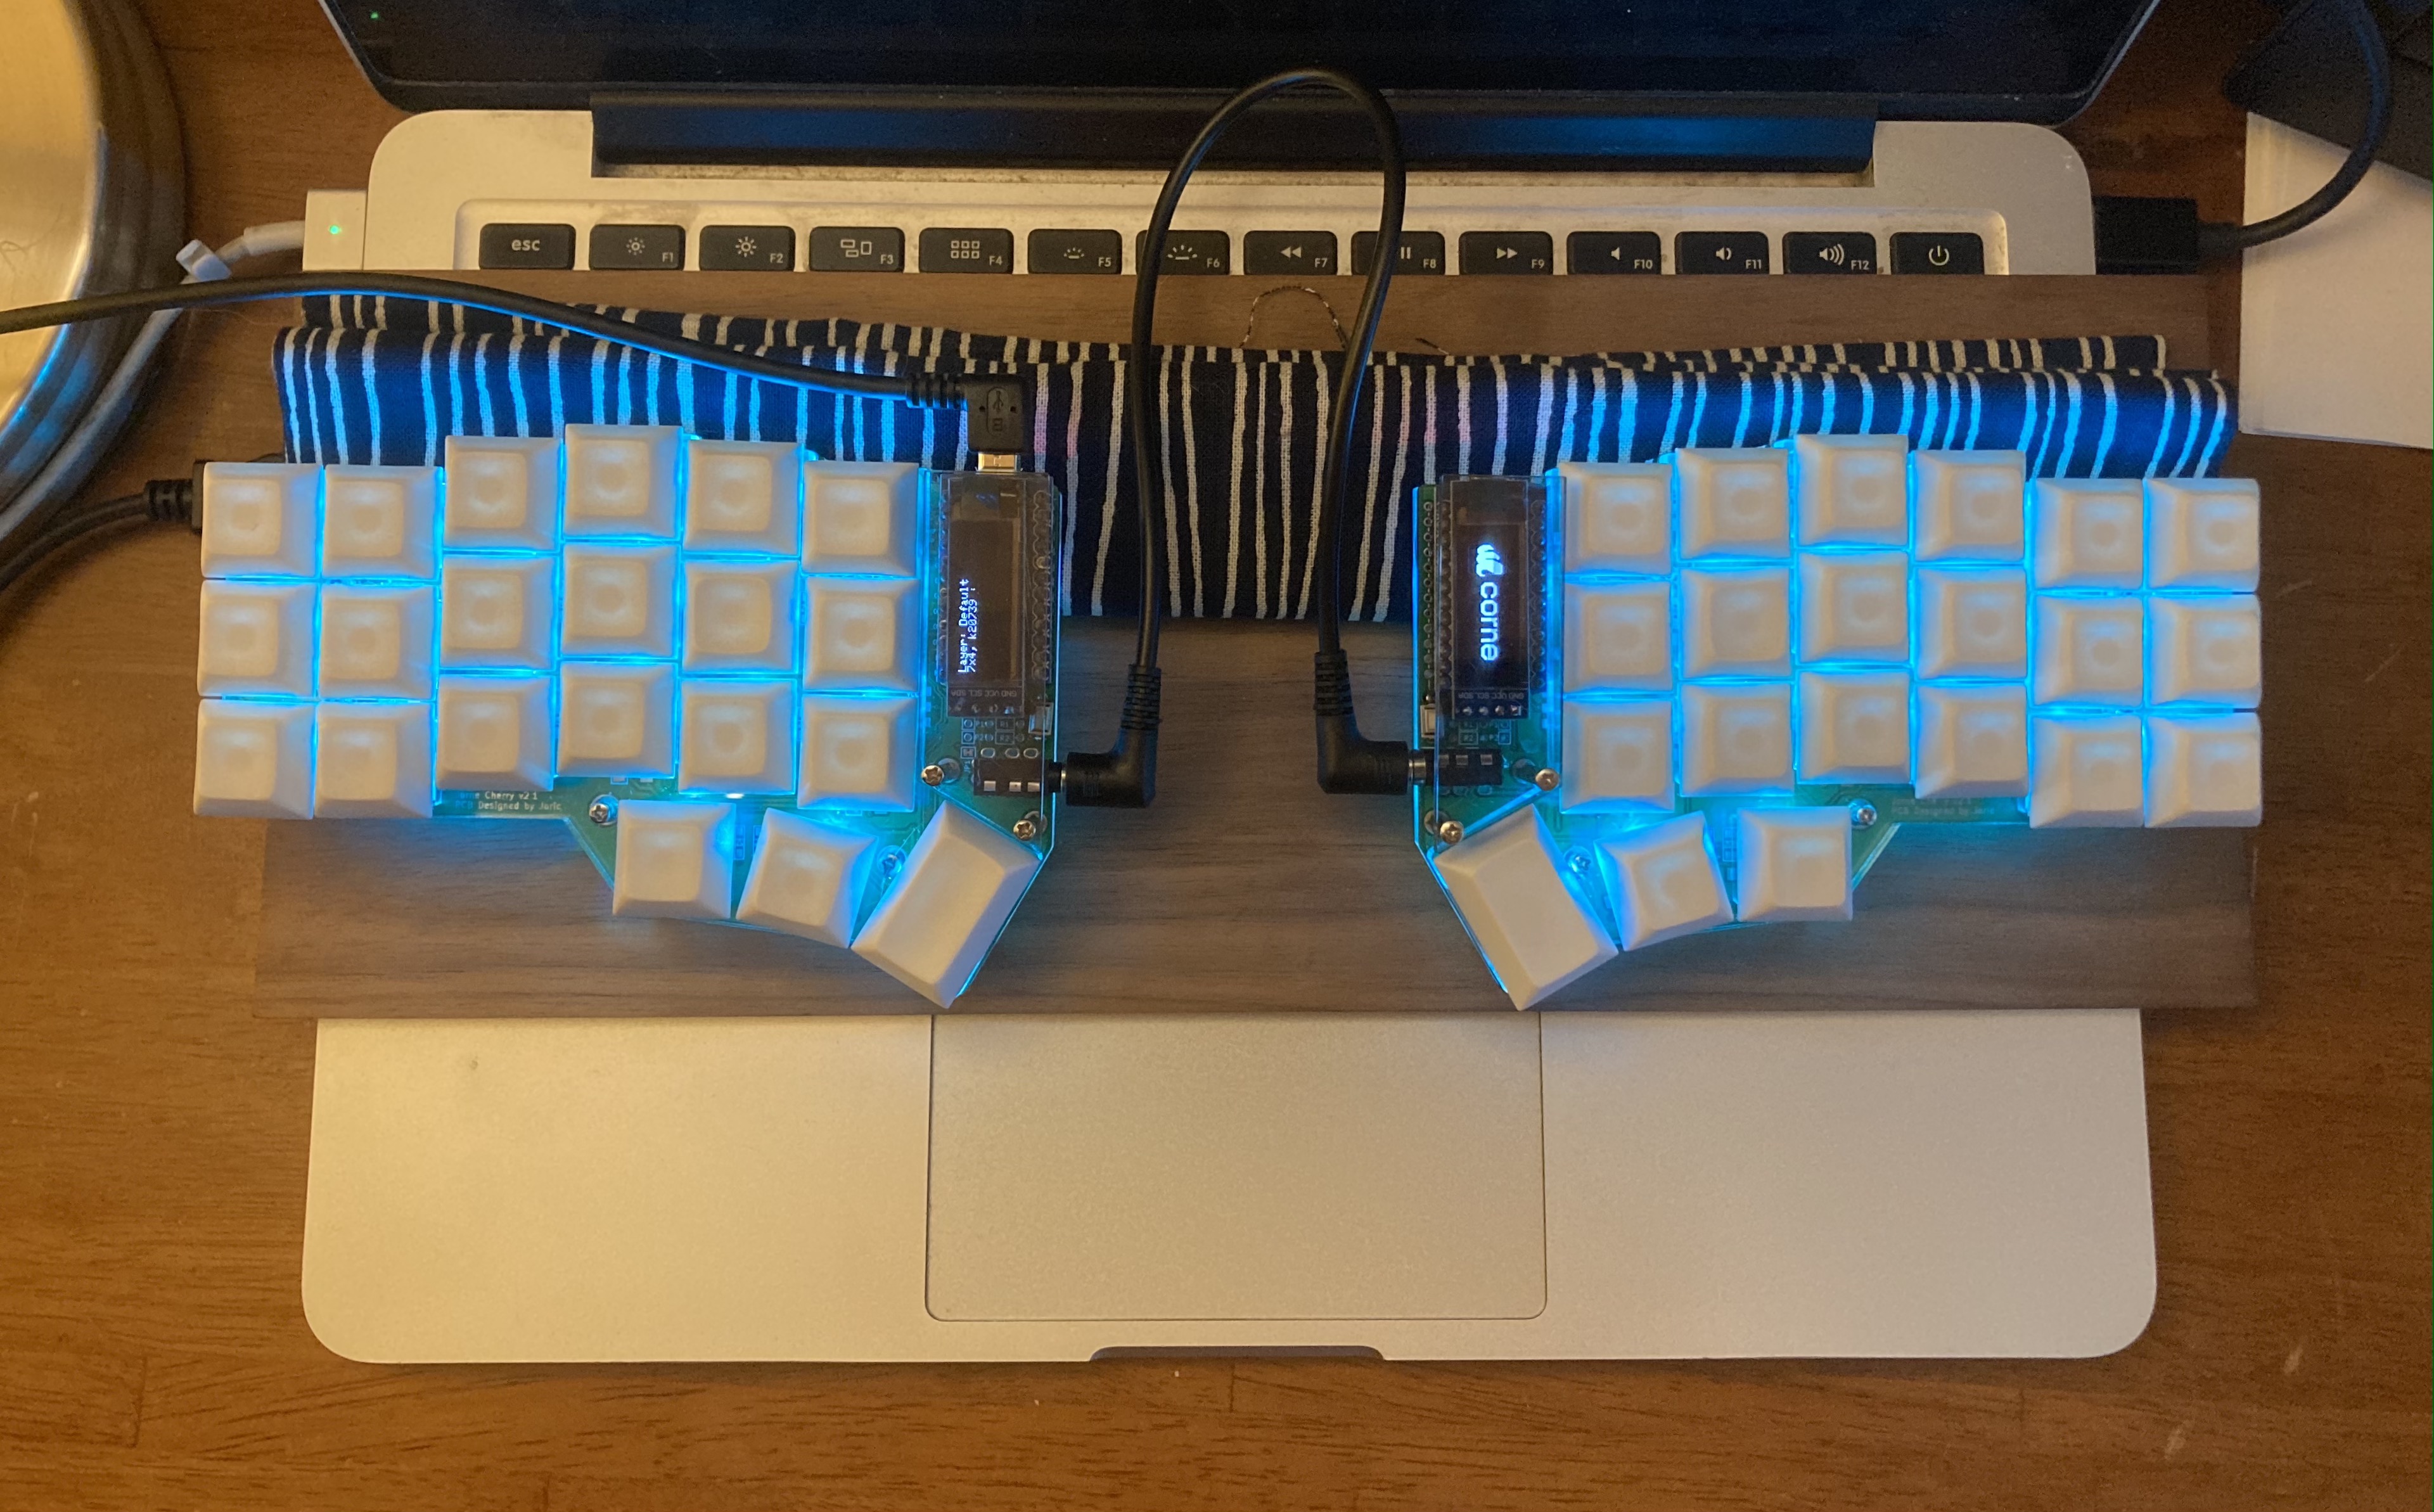
I type on a crkbd now and I love it! It’s a 42-key split ergonomic mechanical keyboard with an open-source design and an incredible maker/enthusiast community.
I switched keyboards because I’ve started getting repetitive stress injury in my pinky fingers, and they hurt even when I’m not using them. Also, I rarely ever use 30% of the keys on my huge 87-key workhorse, and wanted to try a smaller layout.
Here’s a roundup of some resources I found helpful for navigating the vast and perplexing world of ergonomic keyboards and figuring out what would suit me.
Standard keyboards: a low bar
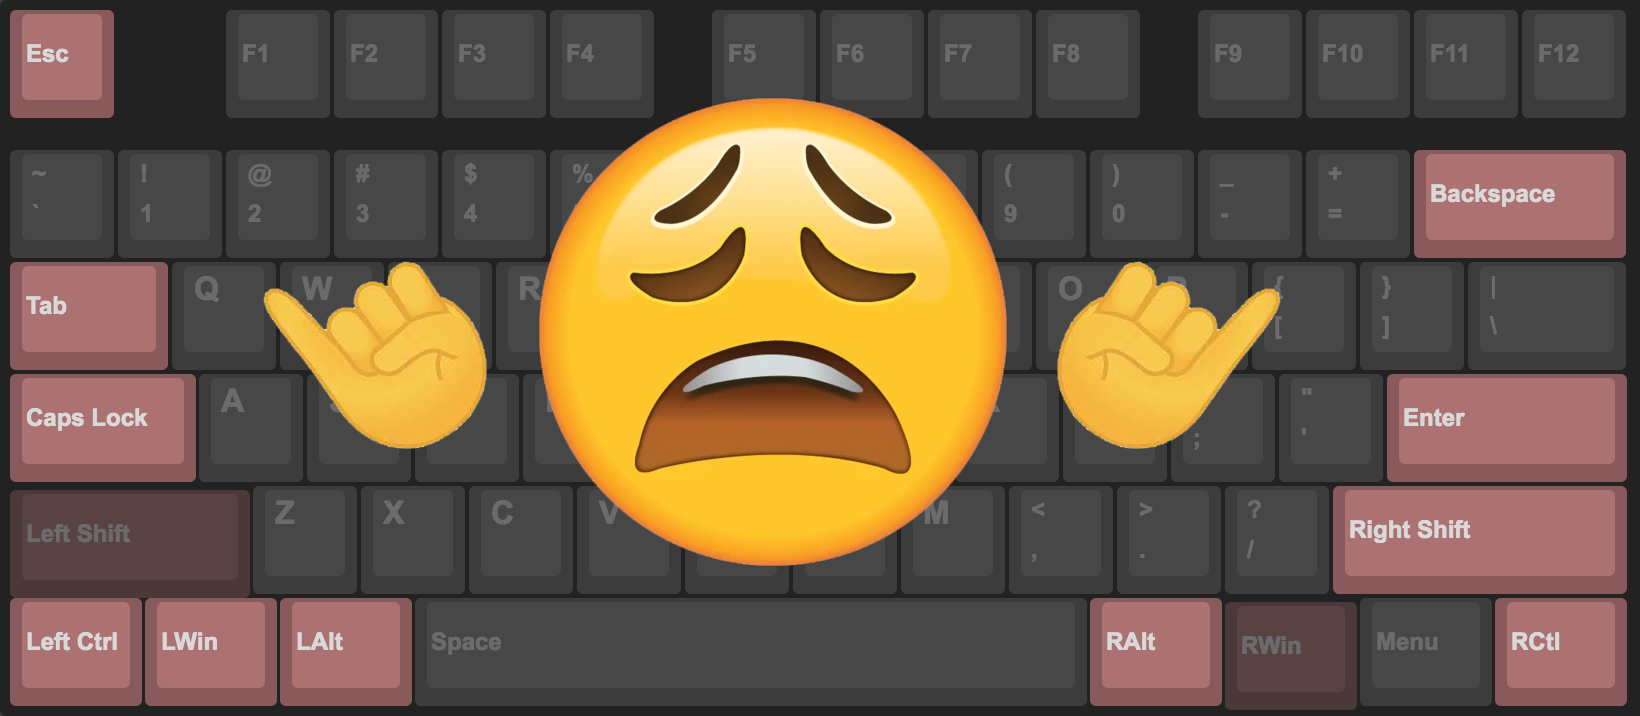
On top of the many letters and symbols your pinky fingers type normally (I use my right pinky for 9 of these), a standard keyboard layout also assigns 5-8 modifier & special keys to each pinky, which is absolutely terrible for them.

Meanwhile, the thumbs are wasted, only receiving a space bar and a few letters.
crkbd ergonomics

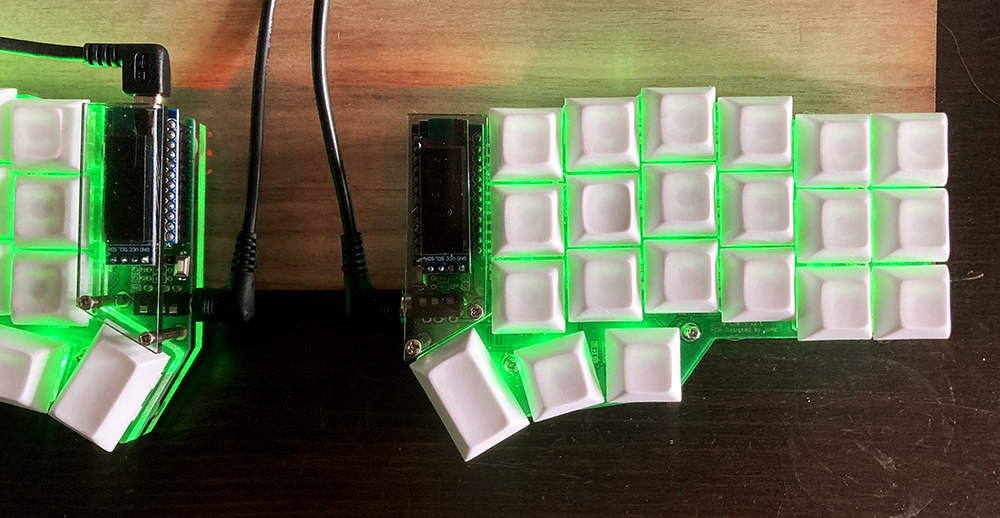
By contrast, the crkbd is designed to take advantage of the thumb, giving you three keys per thumb cluster arranged in natural arcs.
One clear design principle of the crkbd is that no finger should need to move more than 1 space (ok, sqrt(2) for the pinky and index) away from its home position. This is extremely comfortable.
This is achieved by the 40% layout which necessitates layers and/or chording to access more than half of your keys. While I thought I would miss the num row, I adapted almost immediately to having it on a layer instead of stretching my entire hand up to the standard num row.
The only thing I would change about the crkbd (besides snapping off the outer columns) is the pinky column staggering; I really need to rotate or shift my wrists to get at the upper pinky keys. If I have the energy in the future to build an even more niche keyboard, I think I would prefer the more aggressive pinky-column staggering in the Fifi (5x3 + 3), as popularized by the Kyria (6x3 + 5).
Adapting
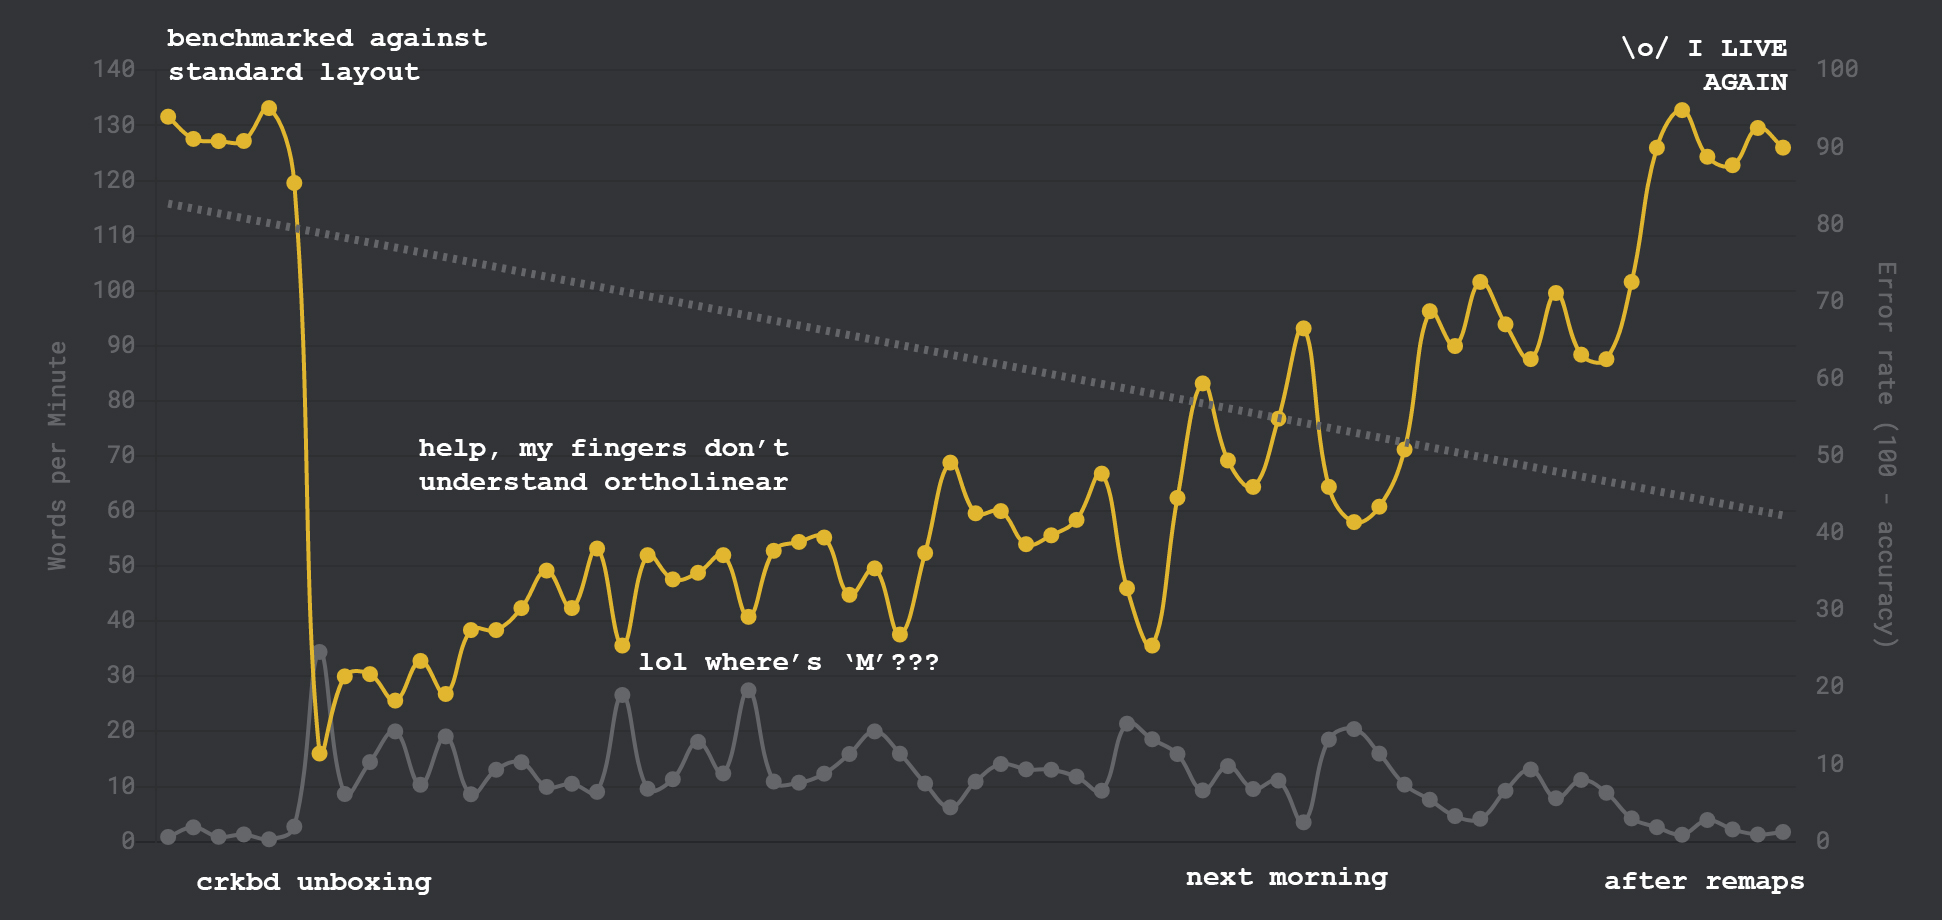
Ortholinear felt extremely weird at first but my hands adapted pretty fast, and can now switch between ortholinear and row-staggered standard layouts on command.
I used monkeytype to train my hands to the new key positions. It only took a few hours to regain 75% of my normal typing speed, and I was back at 100% when I checked a few days after I started remapping the standard layout for convenience.

Blank keycaps, really?
When I first saw blank keycaps, I thought they were just a weird ego trip. Now I get it.
Blanks have definitely simplified my layout transition process because I don’t have to go prying up and swapping caps every time I remap a key (which is still happening pretty often).
In addition, if you use contoured keycaps, where different rows have different profiles, it’s really difficult to find one with the keycap legends where you want them unless you use a standard layout or are willing to shell out a lot of money for a big set of “specials” just to get the few extras you have in a nonstandard position.
Of course, blanks aren’t right for everyone, but they can make sense if you’re already a touch-typist anyway and you plan to fiddle with your layout a lot, or use a nonstandard layout in general, which is pretty common for anyone squishing themselves into a 30-40% keyboard.
Consolidating keyboard power ⚡
I’m already a relative power user with per-application shortcuts, but now I’m incentivized to move even more mouse work to my keyboard to avoid hand repositioning.
I finally picked up Vimium, which is a browser extension that implements vim bindings in Chrome browser. I’ve only been using it a bit, but it’s really nice to have baselayer bindings for really common operations like arrowkey scrolling or jumping to a link and clicking it without using the mouse.
Portability
It’s ludicrously portable. My old mechanical keyboard setup required a desk at least 20” deep. The crkbd can be used on an impromptu lap desk (a.k.a. textbook) or right on top of my laptop keyboard, and packs down to the size of a kids-menu sandwich.

A few years ago, I downsized my external monitor from a standard 24” chonker to a portable 15” that uses a collapsible tablet stand. With the crkbd, my full ergonomic coding setup can now literally be packed into a backpack’s laptop sleeve, and can be used on a small tea table with floor seating, or basically any table that’s about the right height for me.
Most traditional ergonomic coding setups are deep-desk space hogs, so the flexibility of this setup is a huge minimalist win.
Remaining to-do items
- DIY magnetic tenting legs. Good parts sourcing list here by manna-harbour. Still fiddling around with folded up towels and pillows to test out a good angle for my hands.
- Lenovo trackpoint hotswap, also written up by manna-harbour. Trackpoints are my favorite mouse I’ve ever used. Need to scavenge a module, wire it up, and update the firmware.